
Camping Tips
How Much Firewood Do You Need for a Three-Night Camping Trip
How many firewood bundles a three-night camping trip needs, how to adjust for cold or wet nights and cooking, and why to buy wood near camp.
Wet wood? Find the dry inside, make feather sticks and kindling, and build the fire off the ground. Includes how to put it out fully.
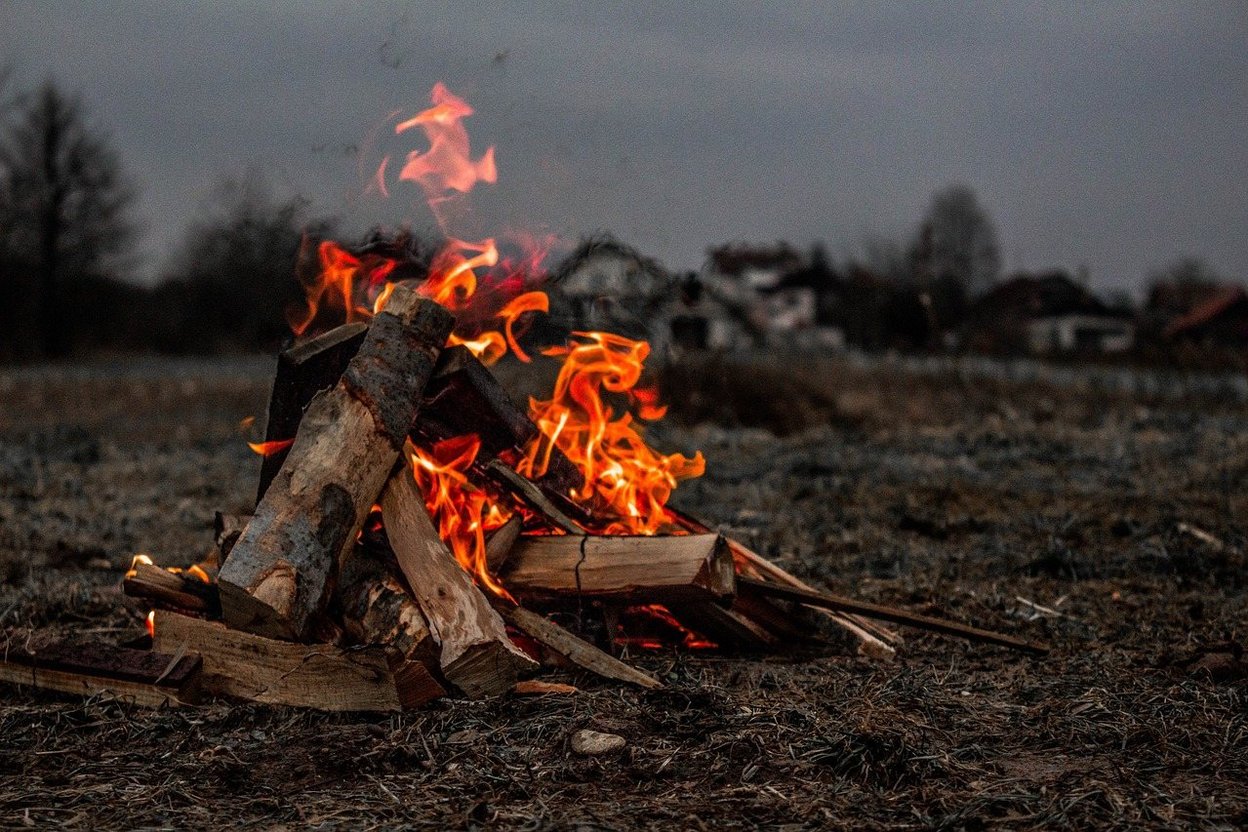
It rained all afternoon, the picnic table is beaded with water, and the bundle of firewood is darker than when you bought it. You have a lighter and a hungry family. You can still get a fire going. Wet weather is mostly a fuel problem, and the fix is to find the dry wood that's still there, shave it down small, and build it up off the wet ground. Here's how, plus how to put it out properly when you're done.
Rain soaks the outside of wood first. The inside of a dead branch or a split log usually stays much drier. So the job is to get to that dry wood and make it small enough to catch.
Here's the whole method in one paragraph. Collect dead wood and peel or shave off the wet bark. Split the bigger pieces so the dry insides face out. Make feather sticks and a pile of thin kindling, about twice as much as seems reasonable. Dry off the base of the fire ring, set a firestarter on it, and build a tipi, log cabin or lean-to around it with the smallest pieces nearest the flame. Light it with your back to the wind. Add bigger pieces only once the small ones are burning hard, and set damp pieces around the edge to dry before they go in. When you're finished, drown, stir, drown and feel.
Every step depends on the first one: finding wood that's dry where it counts.
Wet wood makes a bad fire because the heat goes into boiling off water instead of burning. Wood with more moisture gives off more smoke and less heat, according to Illinois Extension. Seasoned firewood is below 20 percent moisture, and fresh-cut wood usually needs 6 to 9 months to dry that far. To test a piece, knock two together: dry wood makes a sharp clink, and green wood sounds dull. Small cracks in the ends are another good sign.
Where to look:
Once you have dry wood, keep it dry. Never drop it on wet ground. Ontario Parks suggests resting it in the fork of a tree or keeping it under a tarp, under a dining fly or in the car until you need it.
When the tinder lying around is soaked, you make your own from the dry wood you just found. That's a feather stick.
Pick dead, dry, standing wood that isn't rotten or soft. It should be straight-grained and free of knots, because knots make your knife skip and break the curls. Bushcraft instructor Paul Kirtley suggests pieces about 2 to 3 inches across if you only have a knife, and names pine, willow and cedar as good woods for it.
How to make one:
Leaving the curls attached does three jobs. It keeps them off the wet ground, it lets you move the whole stick into place at once, and it keeps the bundle airy so the first flame gets plenty of air. A thick bundle of fine curls on a thin stick lights easily even when the wood around it is wet. Make three or four.
Then split a pile of kindling about an inch thick or less, as Smokey Bear recommends. Sort it from pencil-thin up to thumb-thick so you can feed the fire in order.
Set up the spot. Use the campsite's fire ring if it has one. Build on the side of the pit facing into the wind, where the walls give the most shelter, and stand with your back to the wind when you light it. If it's raining, scrape out the puddled ash and dry the bottom of the pit first. A damp base pulls heat out of the fire from below. Some campers lay a flat row of dry split sticks down as a floor, which keeps the tinder off the wet ash.
Pick a lay. Three shapes work well in wet weather:
Light it. Lighters and matches work, but plain paper matches die quickly in damp air. Keep matches in a waterproof container, or bring a long barbecue lighter, which holds up better in wind and weather. A firestarter does the slow work of drying the kindling above it. Wax-and-sawdust starter logs are made for this. Ontario Parks says one wrapped starter log burns for 45 minutes or more. Put the starter at the base, tuck feather sticks over it, and light the starter, not the wood.
Feed it slowly. Add kindling a few pieces at a time and only move up a size once the current size is burning well. Wet or windy weather slows everything down, so expect to go through more kindling than you planned. Set slightly damp pieces around the edge of the fire so the heat dries them, then add them once they stop steaming. Damp leaves are everywhere in the fall, but they'll smother a young fire, so keep them out of it.
If you're buying wood, buy it close to where you'll burn it. The Don't Move Firewood campaign's rule of thumb is that 10 miles or less is best and 50 miles is too far, because firewood can carry tree-killing pests. Many states and parks set their own limits, so check the campaign's map of firewood rules before you load the car. Some parks sell only local or USDA-certified wood. The National Park Service also warns against burning wood wrapped in clear plastic.
Clearance rules vary too. Smokey Bear's guidance is a cleared circle 10 feet across, kept at least 15 feet from tents, brush and low branches. Minnesota DNR asks campers to use a fire ring or clear 5 feet in every direction, and to keep the fire no bigger than 3 feet wide and 3 feet tall. Follow whatever the posted rule is where you are. Check for burn restrictions before you light, even after rain, and never leave the fire alone.
To put it out, drown, stir, drown, feel. Pour water until the hissing stops, stir the ashes with a shovel or stick, pour on more water, then hold the back of your hand over the ashes. Dirt or sand alone isn't enough. As the Park Service says, "if the ashes are too hot to touch, it is too hot to leave."
Pack this in one dry bag before your next wet-weather trip, whether that's a Halloween weekend or a Thanksgiving camp:
Photo by StockSnap on Pixabay.
How many firewood bundles a three-night camping trip needs, how to adjust for cold or wet nights and cooking, and why to buy wood near camp.
Get a wet tent and damp sleeping bag as dry as you can at camp, pack them safely, and finish drying at home before mildew sets in.
Near freezing, a tent can work if your bag and pad are rated for it. Here's how to decide between a tent and a cabin for your group.