
RVs & Campers
How Much Propane Does a Camper Furnace Use on a Cold Night
Find how much propane a camper furnace burns on a cold night, how to work out your own number from the BTU label, and how much to bring.
One hard freeze can crack an RV's water lines, pump and water heater. How to winterize a camper with RV antifreeze or compressed air, plus the battery, tires, seals and mice.
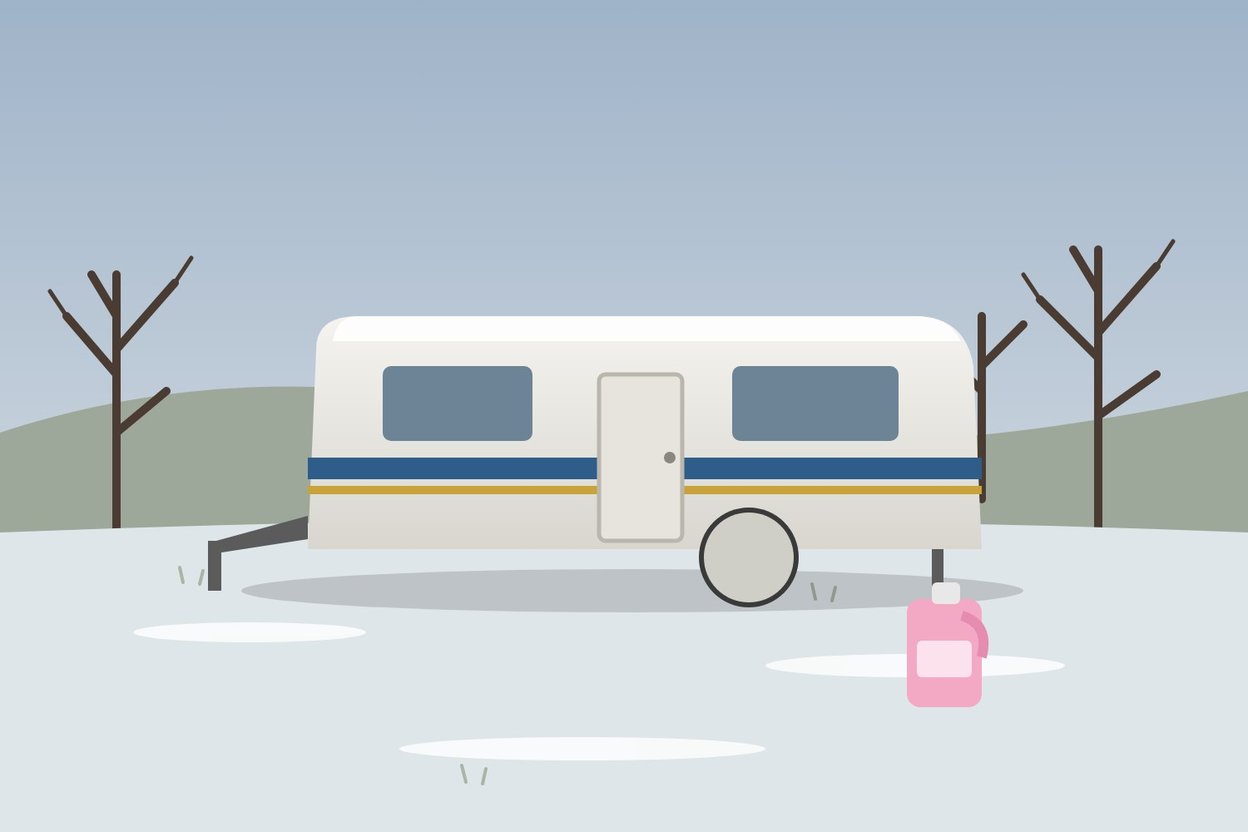
The first hard freeze of the season is the most expensive night of the year for camper owners who weren't ready. Water left in the lines, the pump or the water heater freezes, expands and cracks things that cost a lot to fix. Winterizing takes an afternoon. Here's how to do it.
Always check your RV's owner's manual first. Every rig has its own valves, and some have specific instructions for the water heater, ice maker or washer.
Dump and flush the black tank first, then the gray tank, at a dump station. Close the valves when you're done.
Open the low-point drain lines (usually under the camper) and every faucet, hot and cold, plus the shower, to let the water run out. Flush the toilet to drain it.
Put the water heater bypass valves in bypass. Otherwise you'll pour several gallons of antifreeze into the heater tank for nothing.
Close the low-point drains and faucets.
Antifreeze method: use the pump converter kit or a hose to pull RV antifreeze into the water pump. Turn on the pump. Then, one at a time, open each faucet, cold side then hot side, until pink antifreeze runs out, and close it. Start with the fixture closest to the pump and work outward. Don't forget the shower, the outside shower if you have one, and the toilet (flush until pink appears).
Compressed air method: with a blow-out plug on the city water inlet and air pressure kept low (check your manual, many recommend around 30–40 psi), blow the water out of each line one faucet at a time. Many owners do the air method and then add antifreeze to the drains and traps for extra protection.
Pour a cup or two of antifreeze down every sink drain and the shower drain to protect the P-traps, and a little into the toilet bowl.
Mice love a stored camper. Clean out every crumb of food, prop the fridge door open so it doesn't mold, plug any openings you can find with steel wool or foam made for rodents, and check on the camper every few weeks.
De-winterizing is the reverse: flush the antifreeze out of the lines with fresh water, take the water heater out of bypass, refill, sanitize the fresh water system, and check every connection for leaks before your first trip.
An afternoon now saves you a cracked water pump in April. When the forecast shows the first night in the 20s, you want this done.
Find how much propane a camper furnace burns on a cold night, how to work out your own number from the BTU label, and how much to bring.
Compare storing your camper at home, in a storage lot or at a campground this winter, with typical costs and the rules to check first.
Tongue River Reservoir in Montana cut power to most campsites for winter. Learn which 11 sites stay powered, what's open, and what to plan for.